I finally got a chance to make a Noodlehead Gathered Clutch the other day! I can't believe I waited this long to try it out. It is so fun and easy and so satisfying. It is definitely going to become another go to gift for friends and family.
Anna of Noodlehead is a creative wonder. She is constantly churning out fabulously cute items and the gathered clutch is no exception. The instructions were simple, concise and easy to follow. I know that there is the option to download a more detailed pattern for a small fee (it is really reasonable and comes with a license to sell.) But I did not find a need for the more detailed instructions. I may decide later on to sell some of these so I will buy the pattern at that point but for now I'm happy to just make them for myself and as gifts.
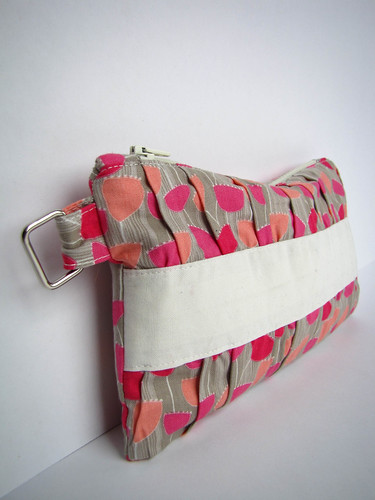
I chose a cute grey and pink fabric I picked up at Bolt last summer. Once again, this is a remnant piece without a selvedge so if anyone has the details on it, please let me know. The pattern uses less than a fat quarter of the main fabric and basically a few scraps of the contrast and lining. I think the whole thing went together in less than an hour, easy peasy.
I picked up a bunch of zippers at Fabricland a couple of weeks ago. They have been having a big sale since the beginning of June so I grabbed 3 zippered for .99 cents, then I grabbed 3 more. Then yesterday I went back and grabbed 6 more when I was picking up some thread. As much as I hate stepping foot in that place, when they have a massive sale it's almost worth the soul sucking madness of going there. Yesterday I got 2 spools of guterman thread and 6 zippers for only $4.01. Not too shabby.
I made a few adjustments to my little clutch. The first was the zipper. My cheap zippers are 7 inches instead of 8 as the tutorial calls for so when I was making the zipper tabs I chose to sew them on the other size of the zipper stops (you know, those little metal bits?) I was able to lengthen the overall zipper piece enough to make it work, and I really don't mind the metal bits showing. I choose to add the internal divider and card pockets which I might just leave out next time. I felt it made the final product a teensy bit bulky. I also added a loop and O ring to the outside just for some flare. It gives it a bit of detail and makes it seem even a bit more finished. Also, when I'm running around, I have a tendency to leave my keys places so this way I can hook it all together.
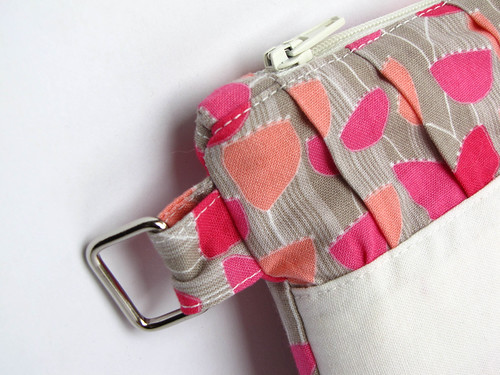
I see many more of these babies in my future. Especially with my new surplus of zippers. I suggest you go check out the pattern and make one immediately.
Wednesday, June 22, 2011
Monday, June 20, 2011
bags, bags, bags!
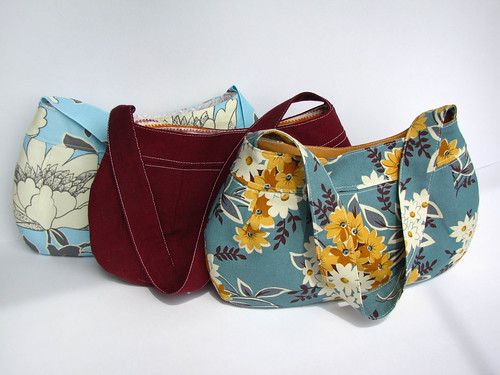
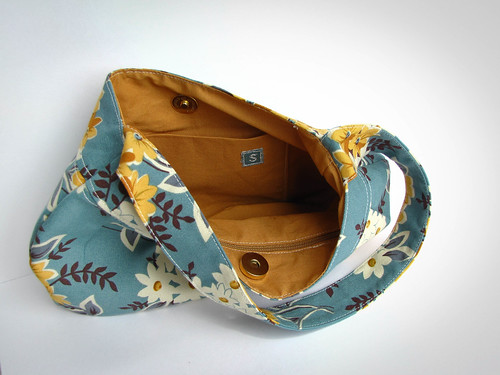
I've been working on a lot of bags recently. A bunch of gifts for friends, and I thought it would be fun to share. The first 3 are all buttercup bags made using the free pattern/tutorial by the fabulously talented Rae Hoekstra of Made by Rae.
I've made these a bunch of times before, and they are fun and quick and have become a go-to gift for friends. The girls at least. I can't seem to tire of them.
It feels good to use of some of my stash that has been sitting for a while. The Amy Butler print has been in my bin for 2.5 years! Since a lot of my stash is made up of fat quarters (because it took me a while to learn that I actually wanted bigger cuts), the buttercup bag is a great project to use up the piles of fat quarters.
Here's the details:
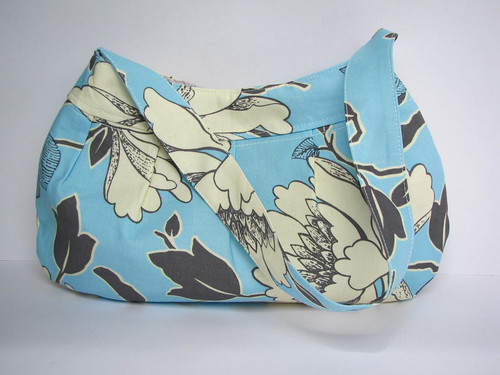
Buttercup Bag One:
Exterior - Amy Butler, Tree Peony in Sky from the Lotus Collection
Lining - Lyndhurst Studios, Bubbles and Blooms in Grey
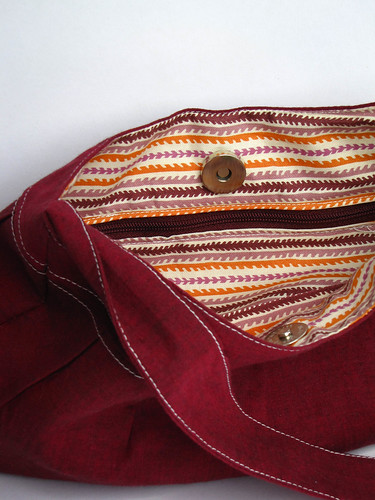
Buttercup Bag Two:
Exterior - Kaffe Fasset Shot Cotton in Cassis
Lining - Denyse Schmidt, Canyon Stripe in Fiesta from the Hope Valley Collection
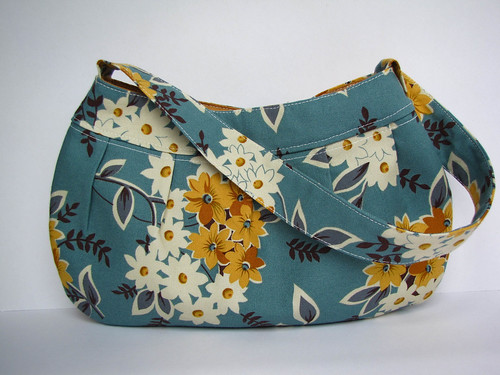
Buttercup Bag Three:
Exterior - Denyse Schmidt Bouquet in Porch from Country Fair
Lining - Kona Cotton in Camel
For each of the bags I made a few modifications. I added an interior zipper pocket and an "S" tag, and I left off the decorative butt flap.
These three were finished in two afternoon assembly line sessions. I made the mistake of trying a new way of putting in a zipper pocket and it was (at first) a disaster, so it took a bit longer than usual to complete them.
There are two more bags I'd like to show you, but you'll have to wait for another day, because one isn't finished, and I don't feel like writing about the other one for now.
Saturday, June 18, 2011
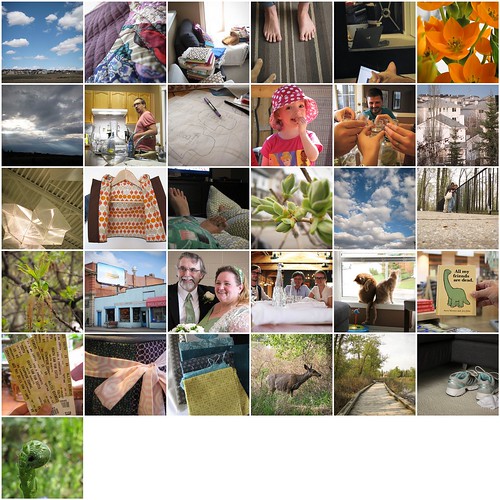
365 May 2011
1. 365.126, 2. 365.127, 3. 365.128, 4. 365.129, 5. 365.130, 6. 365.131, 7. 365.132, 8. 365.133, 9. 365.134, 10. 365.135, 11. 365.136, 12. 365.137, 13. 365.138, 14. 365.139, 15. 365.140, 16. 365.141, 17. 365.142, 18. 365.143, 19. 365.144, 20. 365.145, 21. 365.146, 22. 365.147, 23. 365.148, 24. 365.149, 25. 365.150, 26. 365.151, 27. 365.152, 28. 365.153, 29. 365.154, 30. 365.155, 31. 365.156
Friday, June 17, 2011
the aprons
As you know, I gave away an apron for Sew Mama Sew's Giveaway Day. And then I gave away another.
What you don't know, is I made a third apron! While I was stitching up the giveaway apron, my mom was admiring it, so I decided to make one for her too. I guess I've started making sure she doesn't leave for home without something handmade by me. Two Christmas's ago there was a quilt, which for some reason I don't have pictures of. Then there was the pillow, which I also don't have pictures of. Now there is the apron.
Yup! It's Neptune again! I ripped apart a housecoat I was making and had given up on so I could find a piece of Neptune big enough for the apron.
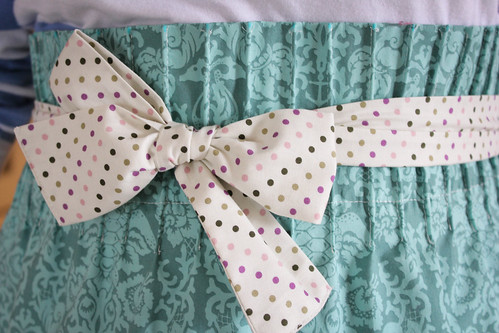
Like the giveaway apron, this one has pintucks at the top and extra long ties so you can make a bow in the front.
I wasn't sure what fabric to use for the contrast, but it was my ever so stylish brother who picked it out.
I'm not sure who makes it because it was a remnant from a local shop and it didn't have a selvege.
I love this apron, and I am glad it's gone to live at my mom's house.
Here are the two together!
I had meant to get some better photos of the second giveaway apron before I mailed it off, but I forgot.
An interesting (if not aggravating) sidenote: We are currently experiencing a "disruption" in mail service here in Canada. It started as a rotating strike by the union members, now they have been locked out. I won't share my opinions on the whole matter here, but I'm not happy. We already pay a lot for our postal service here and it's often unreliable. When I did finally get around to mailing the aprons, it was only 12 hours later that the lockout happened. So far it has been more than 2 weeks of disruptions and it looks like it could be at least a week more. Needless to say, the aprons and a few other letters that I sent out are now sitting in limbo. Wish them luck.
Wednesday, June 8, 2011
be friends with my friends
So, I have this lovely friend Esther, who really is something of a kindred spirit. We share a love of cats (okay, more of an obsession) and crafty endeavors. Esther definitely has one up on me since she crochets as well as sewing.
The point being, Esther recently decided to spend some time putting her work up on her blog and I love it! We may live in the same city and therefore have regular access to each others work in person, but it's super fun to see her work right when it's done instead of having to wait until the next time I see her.
Esther is currently hosting a giveaway on her blog and I want it so bad. Since I just made 3 different aprons and gave them all away, I am feeling the need for one myself.
Esther is not only a talented crafter but a super thriftier, so her cute little apron is made from some of her recent thrifting finds.
Go check it out and see if you can win!
Subscribe to:
Posts (Atom)